The Ultimate Guide
to Life
Book Design / Copywriting
Client
Novelty Gifts
Goal
Write and design a guidebook
Strategy
Knowing that my client would appreciate humor, I decided that getting intoxicated and focusing on a positive tone would yield the best result
Step 1: Writing
I found that, initially, the broad task of writing a guide book that could be about anything was daunting; not for lack of ideas, but rather for settling on one. I toyed with the idea of writing a guidebook about how to pick out your last words, finding what Pokemon represents you, and (when I was particularly frustrated with my ideation process) how to write a guidebook. I realized that I needed to relax and focus more on execution than perfection.
With that in mind, I poured myself a glass of wine and sat myself down to write 50 ultimate rules to life.
Step 2: Page Layout
First Iteration
With my first designs, I explored the effects of warm vs. cool color palettes and static vs. dynamic page layouts. In terms of color, I was sure that the warm color palette was working better in terms of legibility and matching the lighthearted tone. With the overall page layout, I wanted to find a mid-point between the static and dynamic layouts, to emphasize legibility while maintaining more visual interest and energy.
Second iteration
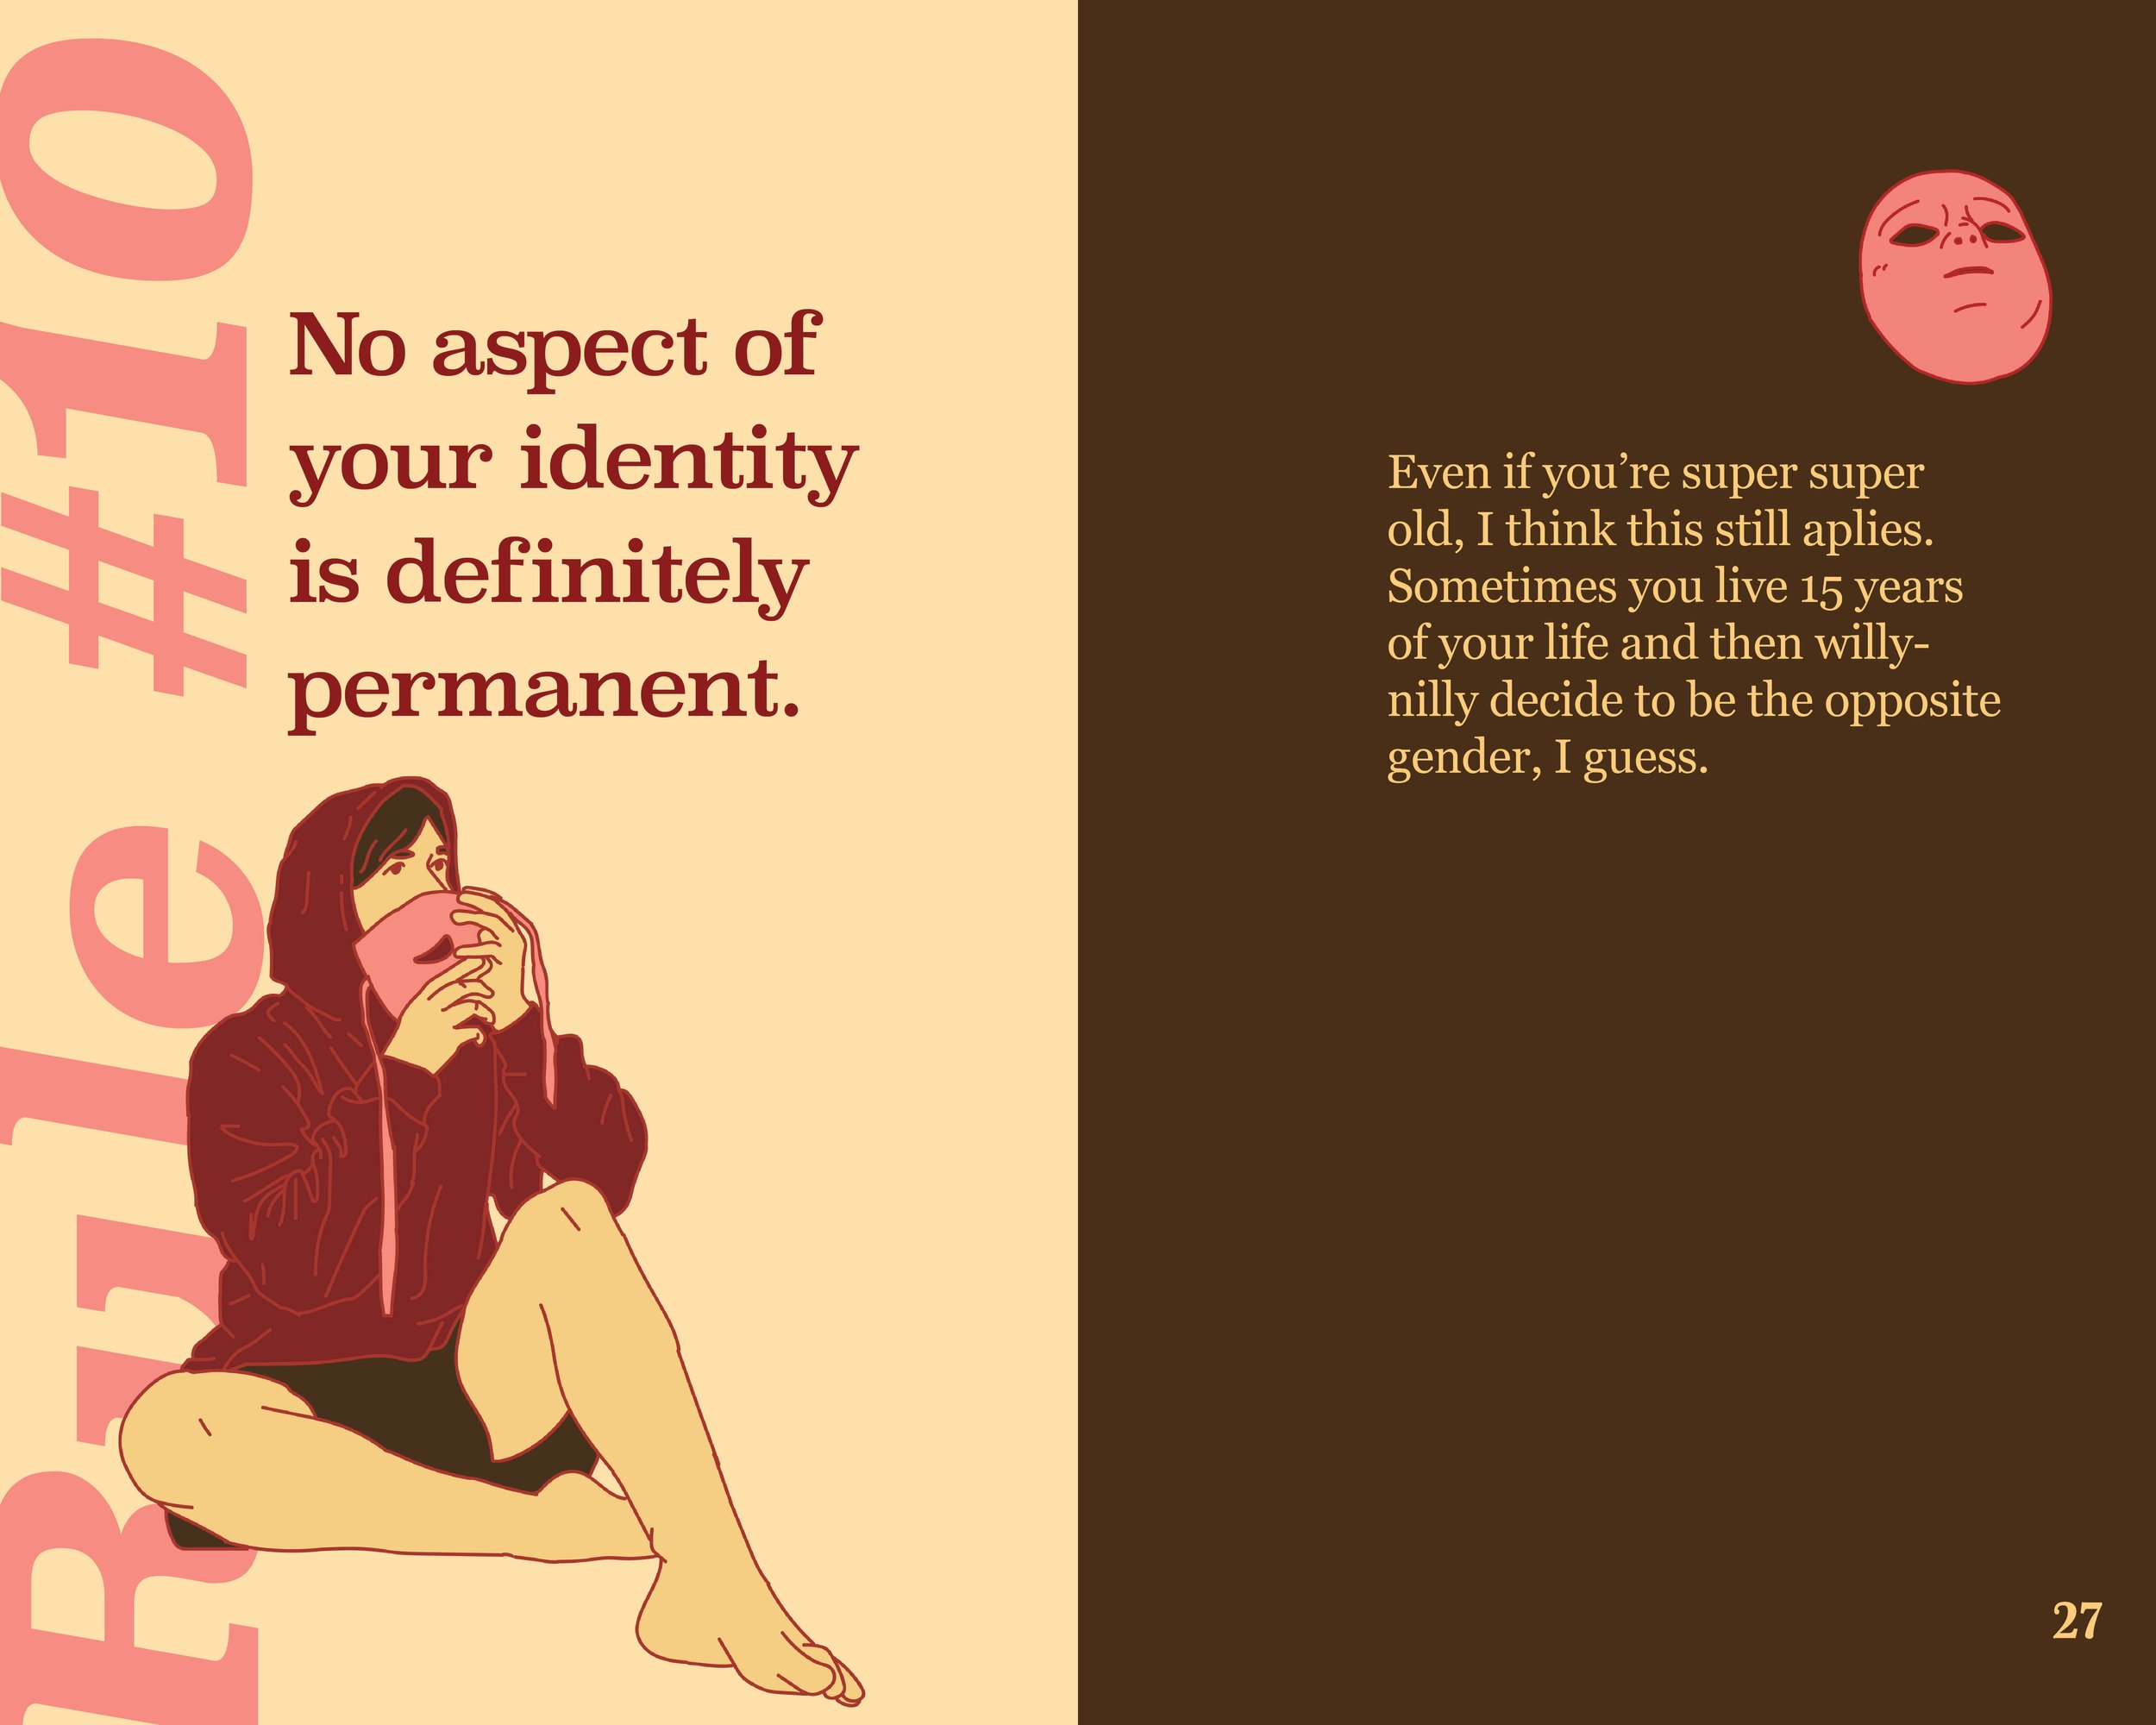
With this second set of pages, I continued to play with angles, font size, and the overall layout again. While I enjoyed the visual interest brought by angles, working the text on top of and around those elements complicated the pages in a way that detracted from the writing. What I finally settled on had the “Rule” off to the side, allowing the illustration to overlap with it, to give the layout visual interest and so that the titles and explanations didn’t have to compete for attention.
Step 3: Illustrations
Early on working on this project, I decided that each rule would have a large illustration relating to it. With 50 illustrations planned, I decided that the best way that I could make many illustrations quickly with a consistent style was to work from reference photos. So, I planned out the illustrations and then had a photoshoot, operating as both the photographer and the model.
Step 4: Small Item Illustrations
At this point in the project, I revisited the page layouts and decided that the right hand pages, were too bland. To correct this, I decided to try adding small, supplemental illustrations to the pages. After trying a few different types of placements, I decided putting the new illustrations in the top right balance out the figure illustrations in the bottom left.


